Creating A Pod
How to create a Metropolis pod.
When you create a pod, you are creating a new Safe with the Metropolis module enabled from the start. You can do this in just a couple of minutes through the Metropolis web app.
1. Navigate to Metropolis app
You can access the Metropolis web app at https://pod.xyz/.
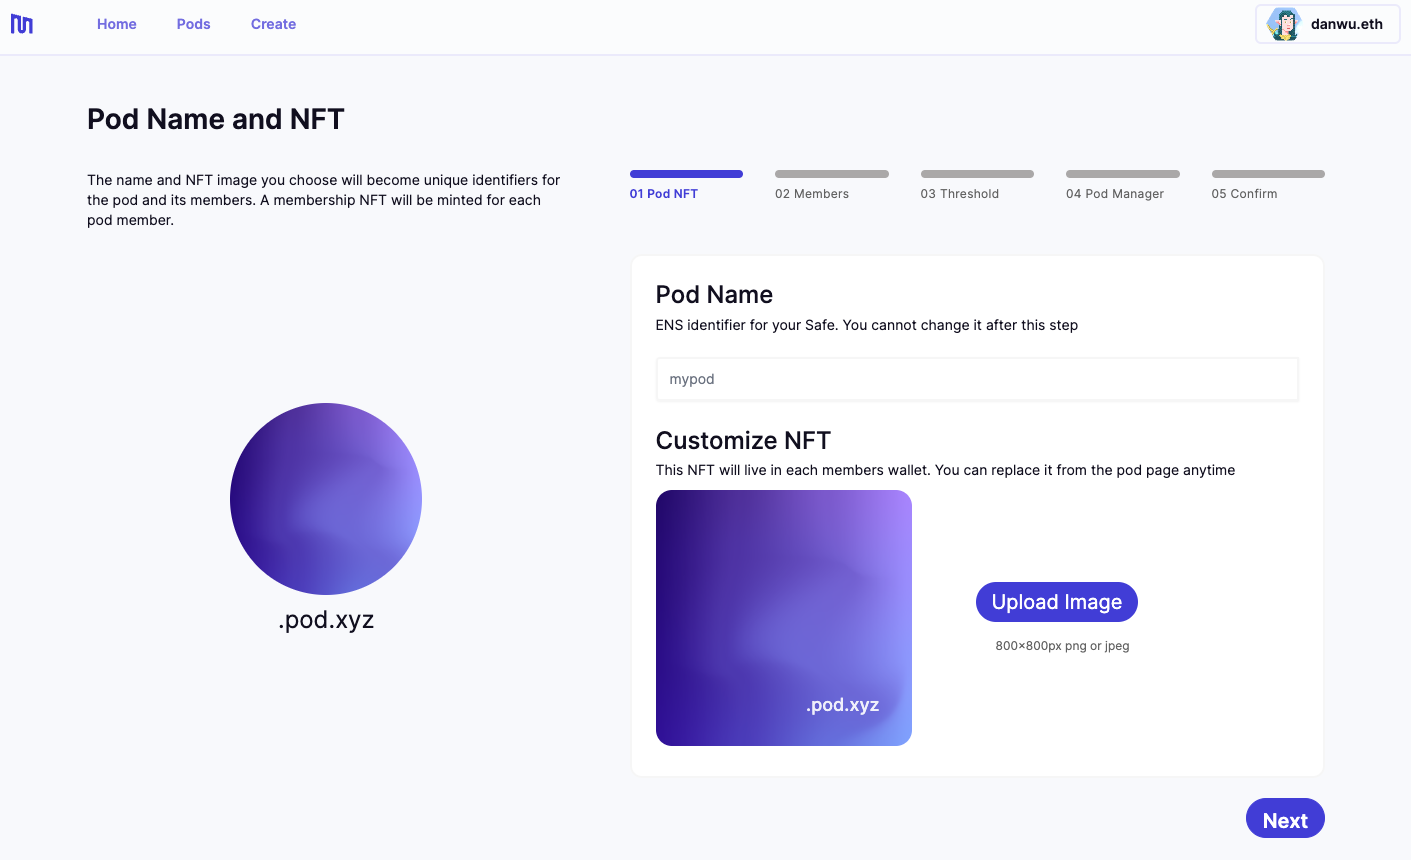
2. Pod name and membership NFT
Once logged in to the app, click the "Create" button on the top nav bar to enter the Create Pod flow.
The first step is to set a pod name and set the NFT image for your pod. The pod name will be appended with .pod.xyz (i.e., myPod.pod.xyz) which will become the publicly accessible ENS domain for your pod.
Your NFT image should have a 1:1 ratio and 800x800px max. This NFT image is the visual representation of your pod membership.
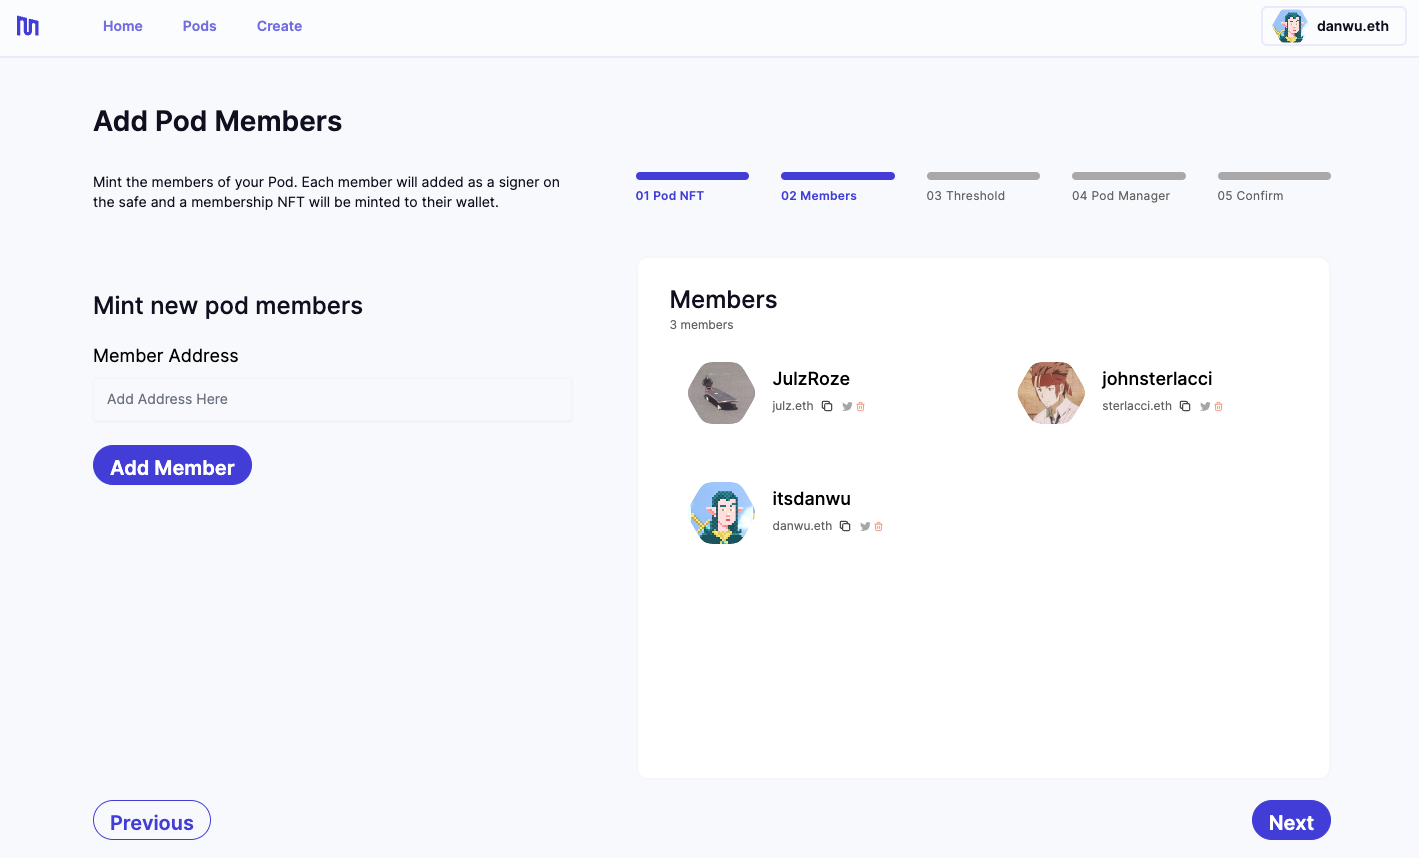
3. Add pod members
The next step is to add pod members to your pod. Simply copy and paste the wallet addresses of the users or other pods that you would like to be members of your new pod.
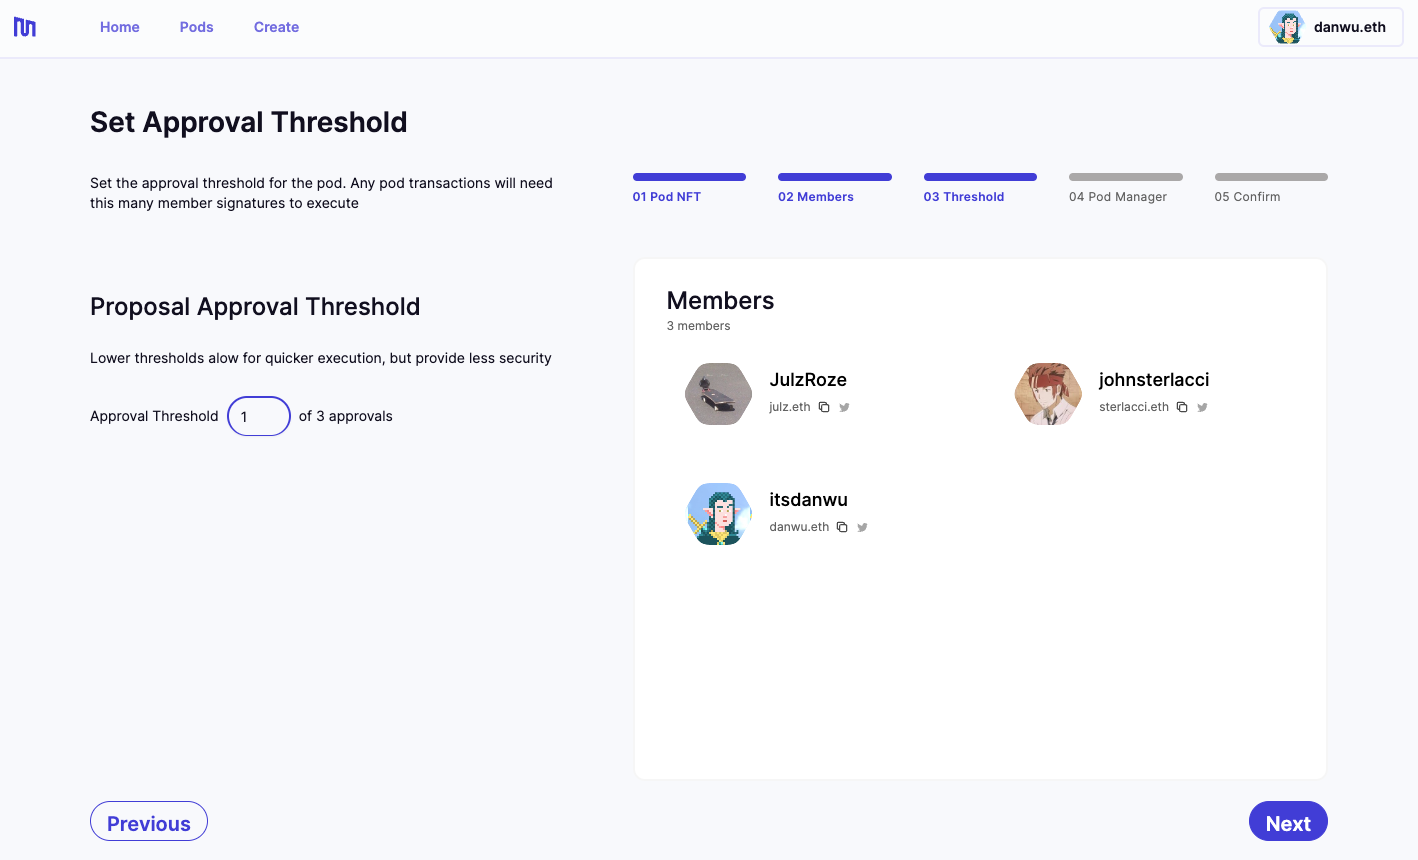
4. Proposal threshold settings
After your pod members have been selected, you need to set the approval threshold for all proposals. See our use cases to understand what types of proposals can be created by a pod member.
5. Choose a manager
Choose a manager for your pod. You can either choose yourself, another wallet address or not set a pod manager. See here for more information on pod roles manager responsibilities.

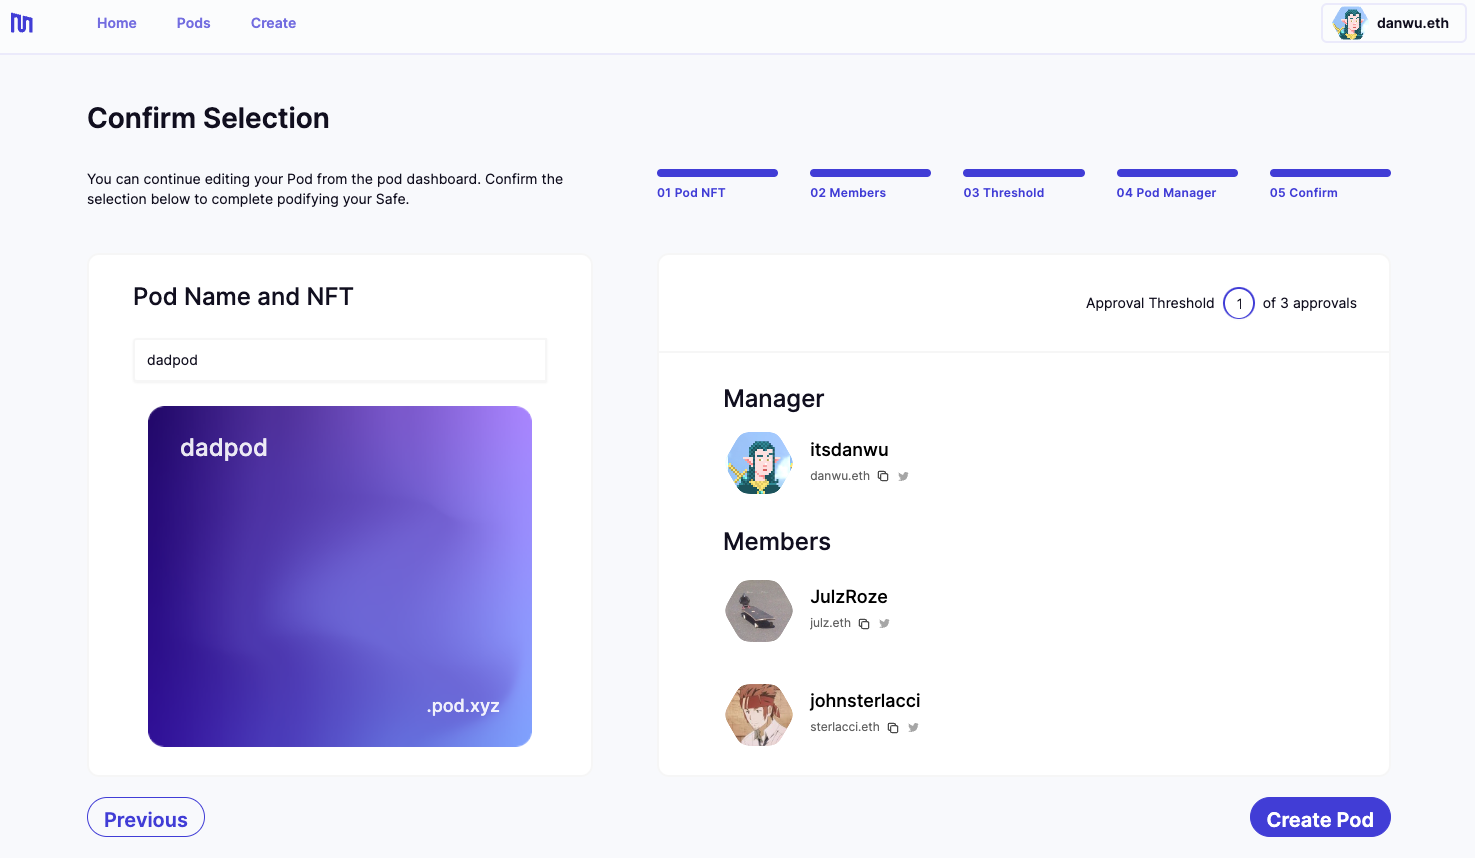
6. Confirm settings
Confirm your pod name, NFT image, proposal settings, and manager/member selections before creating your pod!
7. Create!
Once your pod is created, you can navigate to your pod page to view and manage member details, access pending and executed proposals and more.